Mullet Creek, a tributary to the Hawkesbury River, is perhaps best known for the railway line that runs along much of its length and the quaint little station Wondabyne that's only half a carriage long. North of the railway culvert is a swamp fed from a narrow gully in land that was once earmarked for railway infrastructure, making me wonder if there were plans to construct a dam here to provide water for steam locomotives.
The walk to this cache is mostly along a fairly level fire trail, but there's a short bush-bash at the end before you reach GZ. You could use a mountain bike if you want, but bring a chain to secure it when you leave the trail. The physical cache lies outside the national park.
Long fire trails can be boring, so to keep you amused along the way, here's a bit of a field puzzle for you to solve.
Once you descend below the ridge, there may not be any mobile data available, so best to print out the cache description and photos before embarking on your hike.
Stage 1: At the listed coordinates is a pedestal with a compass plate showing distances to various places. Find the distance to Wellington (New Zealand) and add all the digits together. This number is A.
Now cross the road and proceed to the trailhead, which is the beginning of a fire trail into the Brisbane Water National Park.
Stage 2: At this waypoint you'll find yourself amongst piles of gravel, but that's not what you're interested in. Take a look around; which of the following do you see?

Stage 3: You've reached the crossroads where you'll need to turn right, but before you do there's another clue to collect. Close by is a power pole identified as 66kV FEEDER 833. CD is the two-digit number below that.
Stage 4: Here you'll find a number of stone blocks protecting an area of some significance. E is the number of blocks. While you're here, what do you think those blocks are protecting? Is it the perfectly circular depressions or something more subtle?
Stage 5: At this track junction you'll need to turn left, but stop first to take a look at all the signs. How far is it to Girrakool?
- 6km (F = 6).
- 7km (F = 7).
- 8km (F = 8).
- Dunno, the sign doesn't say (F = 4).
Now's the time to start using those clues you've found to work out where to leave the track, but first you need one more digit. Take a look at another of the signs.
G = No. of kilometres back to where you came from.
As a quick check before you move off into the wilds, A+B+C+D+E+F+G = 35. All good?
The coordinates of Stage 6 are:
S 33° 28. A D C
E 151° 16. C B A
Proceed to this location where you'll find a cleared area on the right of the track. Stop here to work out the coordinates for the final GZ.
S 33° 28. A F G
E 151° 16. C G A
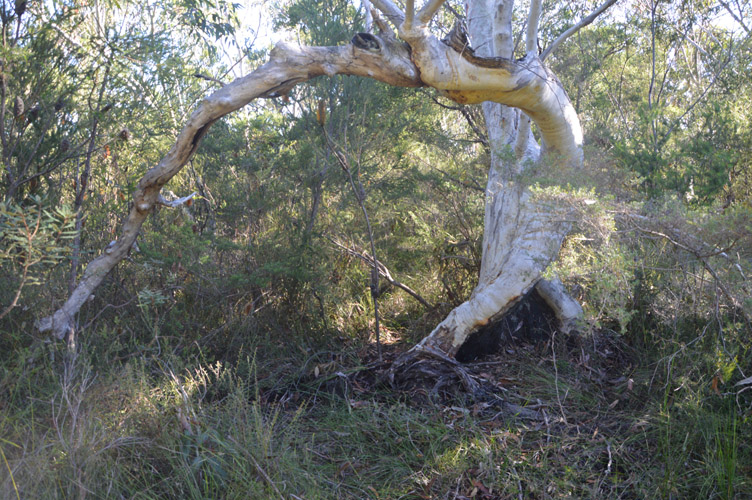
Stand right at Stage 6 where, to the left of a large scribbly-bark, you should find a narrow little track of sorts that will lead you through the worst of the scrub towards GZ.
The track eventually peters out but you should be able to find your way onto more open land by then.
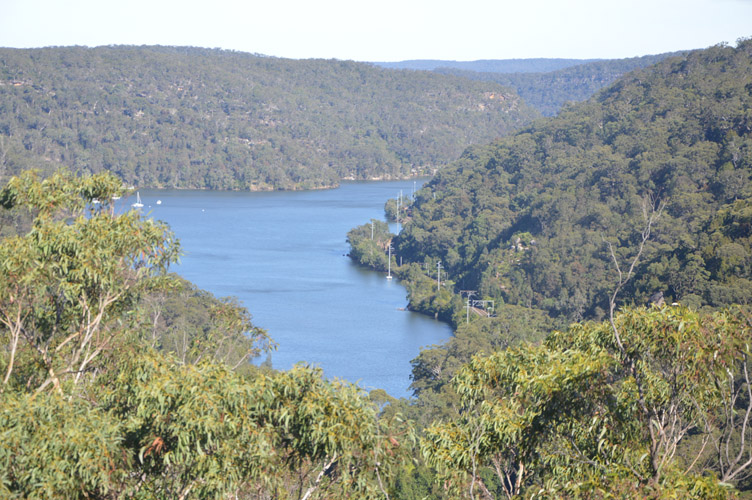
When your GPSr says you're near GZ, you'll find yourself at the top of a cliff with a nice view down over Mullet Creek. If you arrive at the right time you might also hear trains going through Wondabyne. Take a breather, admire the view, you've done well to get this far.
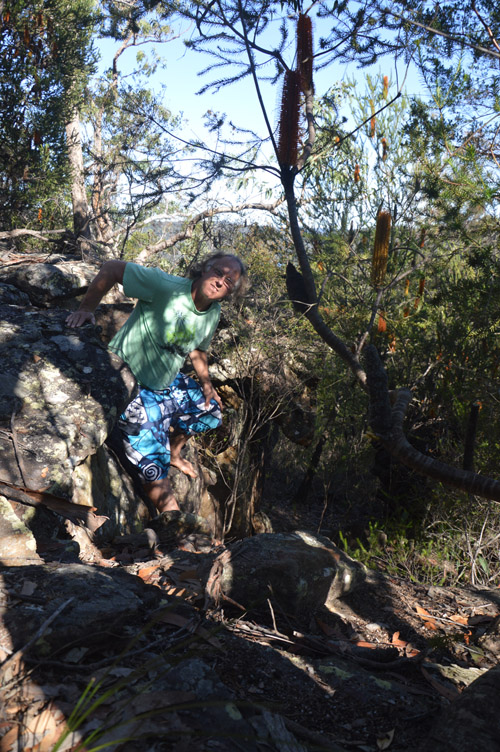
What, you still want to find the cache? Very well, then, but, um, it's actually at the bottom of the cliff you're standing on. Don't despair, you don't have to be Spiderman or mrnoo17, there's an easy way down if you go another 30 metres along and then double back.
Once at the bottom, take a look at the impressive weathering in the cliff face. Pretty neat, huh? Well I thought it was. I wanted to hide the cache somewhere up amongst it all, but there was nowhere I could easily climb and anyway most of the potential hiding places were rather damp. So instead, to make it nice and easy for you, the cache is somewhere dry where you won't have to do any climbing at all.
After you've signed the log (or given up), take a bit of a wander around. A few metres south there was a nice little waterfall, although with the promised El Nino it might have dried up by the time you get there. Feel free to post any photos that don't give away the answers or the cache's hiding place.